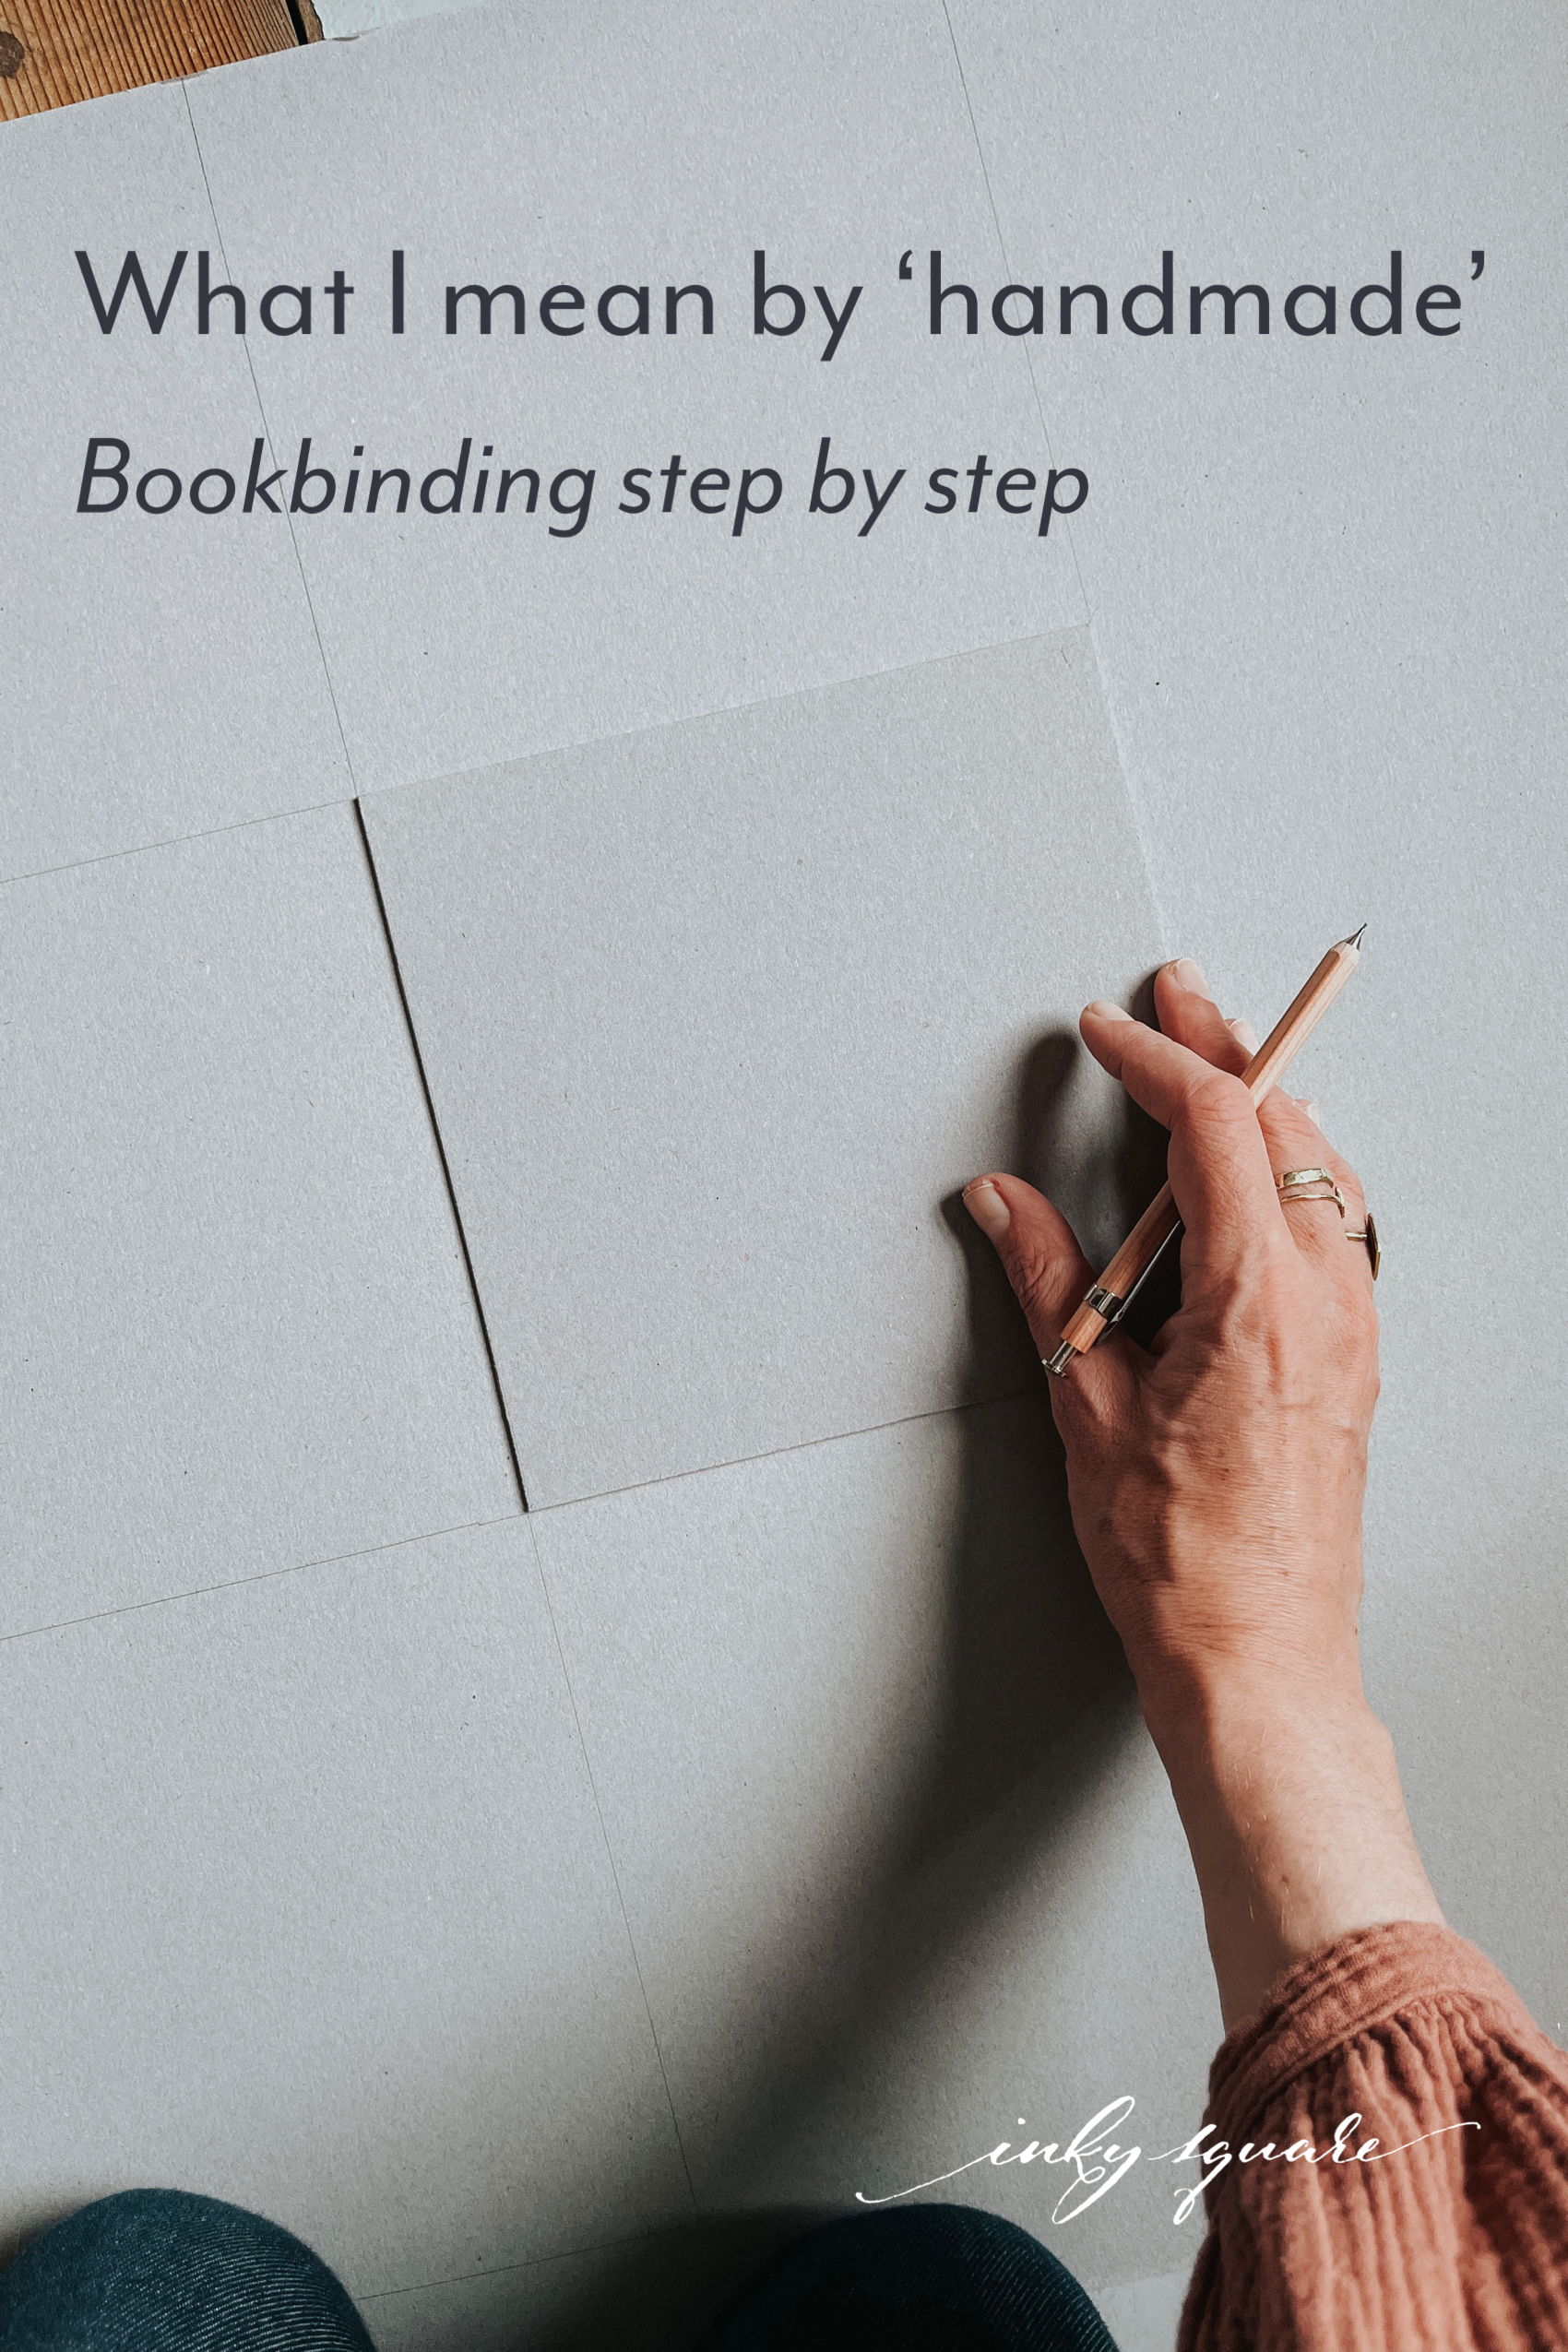
What I mean by 'handmade'
I describe my products as handmade, but what does that actually mean? If you’ve ever been curious about how much work goes into making a notebook or album, these are the steps in my bookbinding process.
1. Prepare the pages
My books start with sheets of paper, either A4 or much larger. The first step is to cut and fold the paper into sections of pages. For a miniature book this involves creating 10 sections out of 5 sheets of A4, and then trimming each with a ruler and craft knife. For a concertina album one large sheet of watercolour paper is cut into three and each third is folded.

2. Sew the pages together
All my books are sewn by hand. This requires using a template, or measuring and marking the position of each hole, and piercing through it, before sewing the sections together. This phase takes a minimum of 20 minutes depending on the design of the book. The link stitch I use for time travel journals is the most intricate and time-consuming.

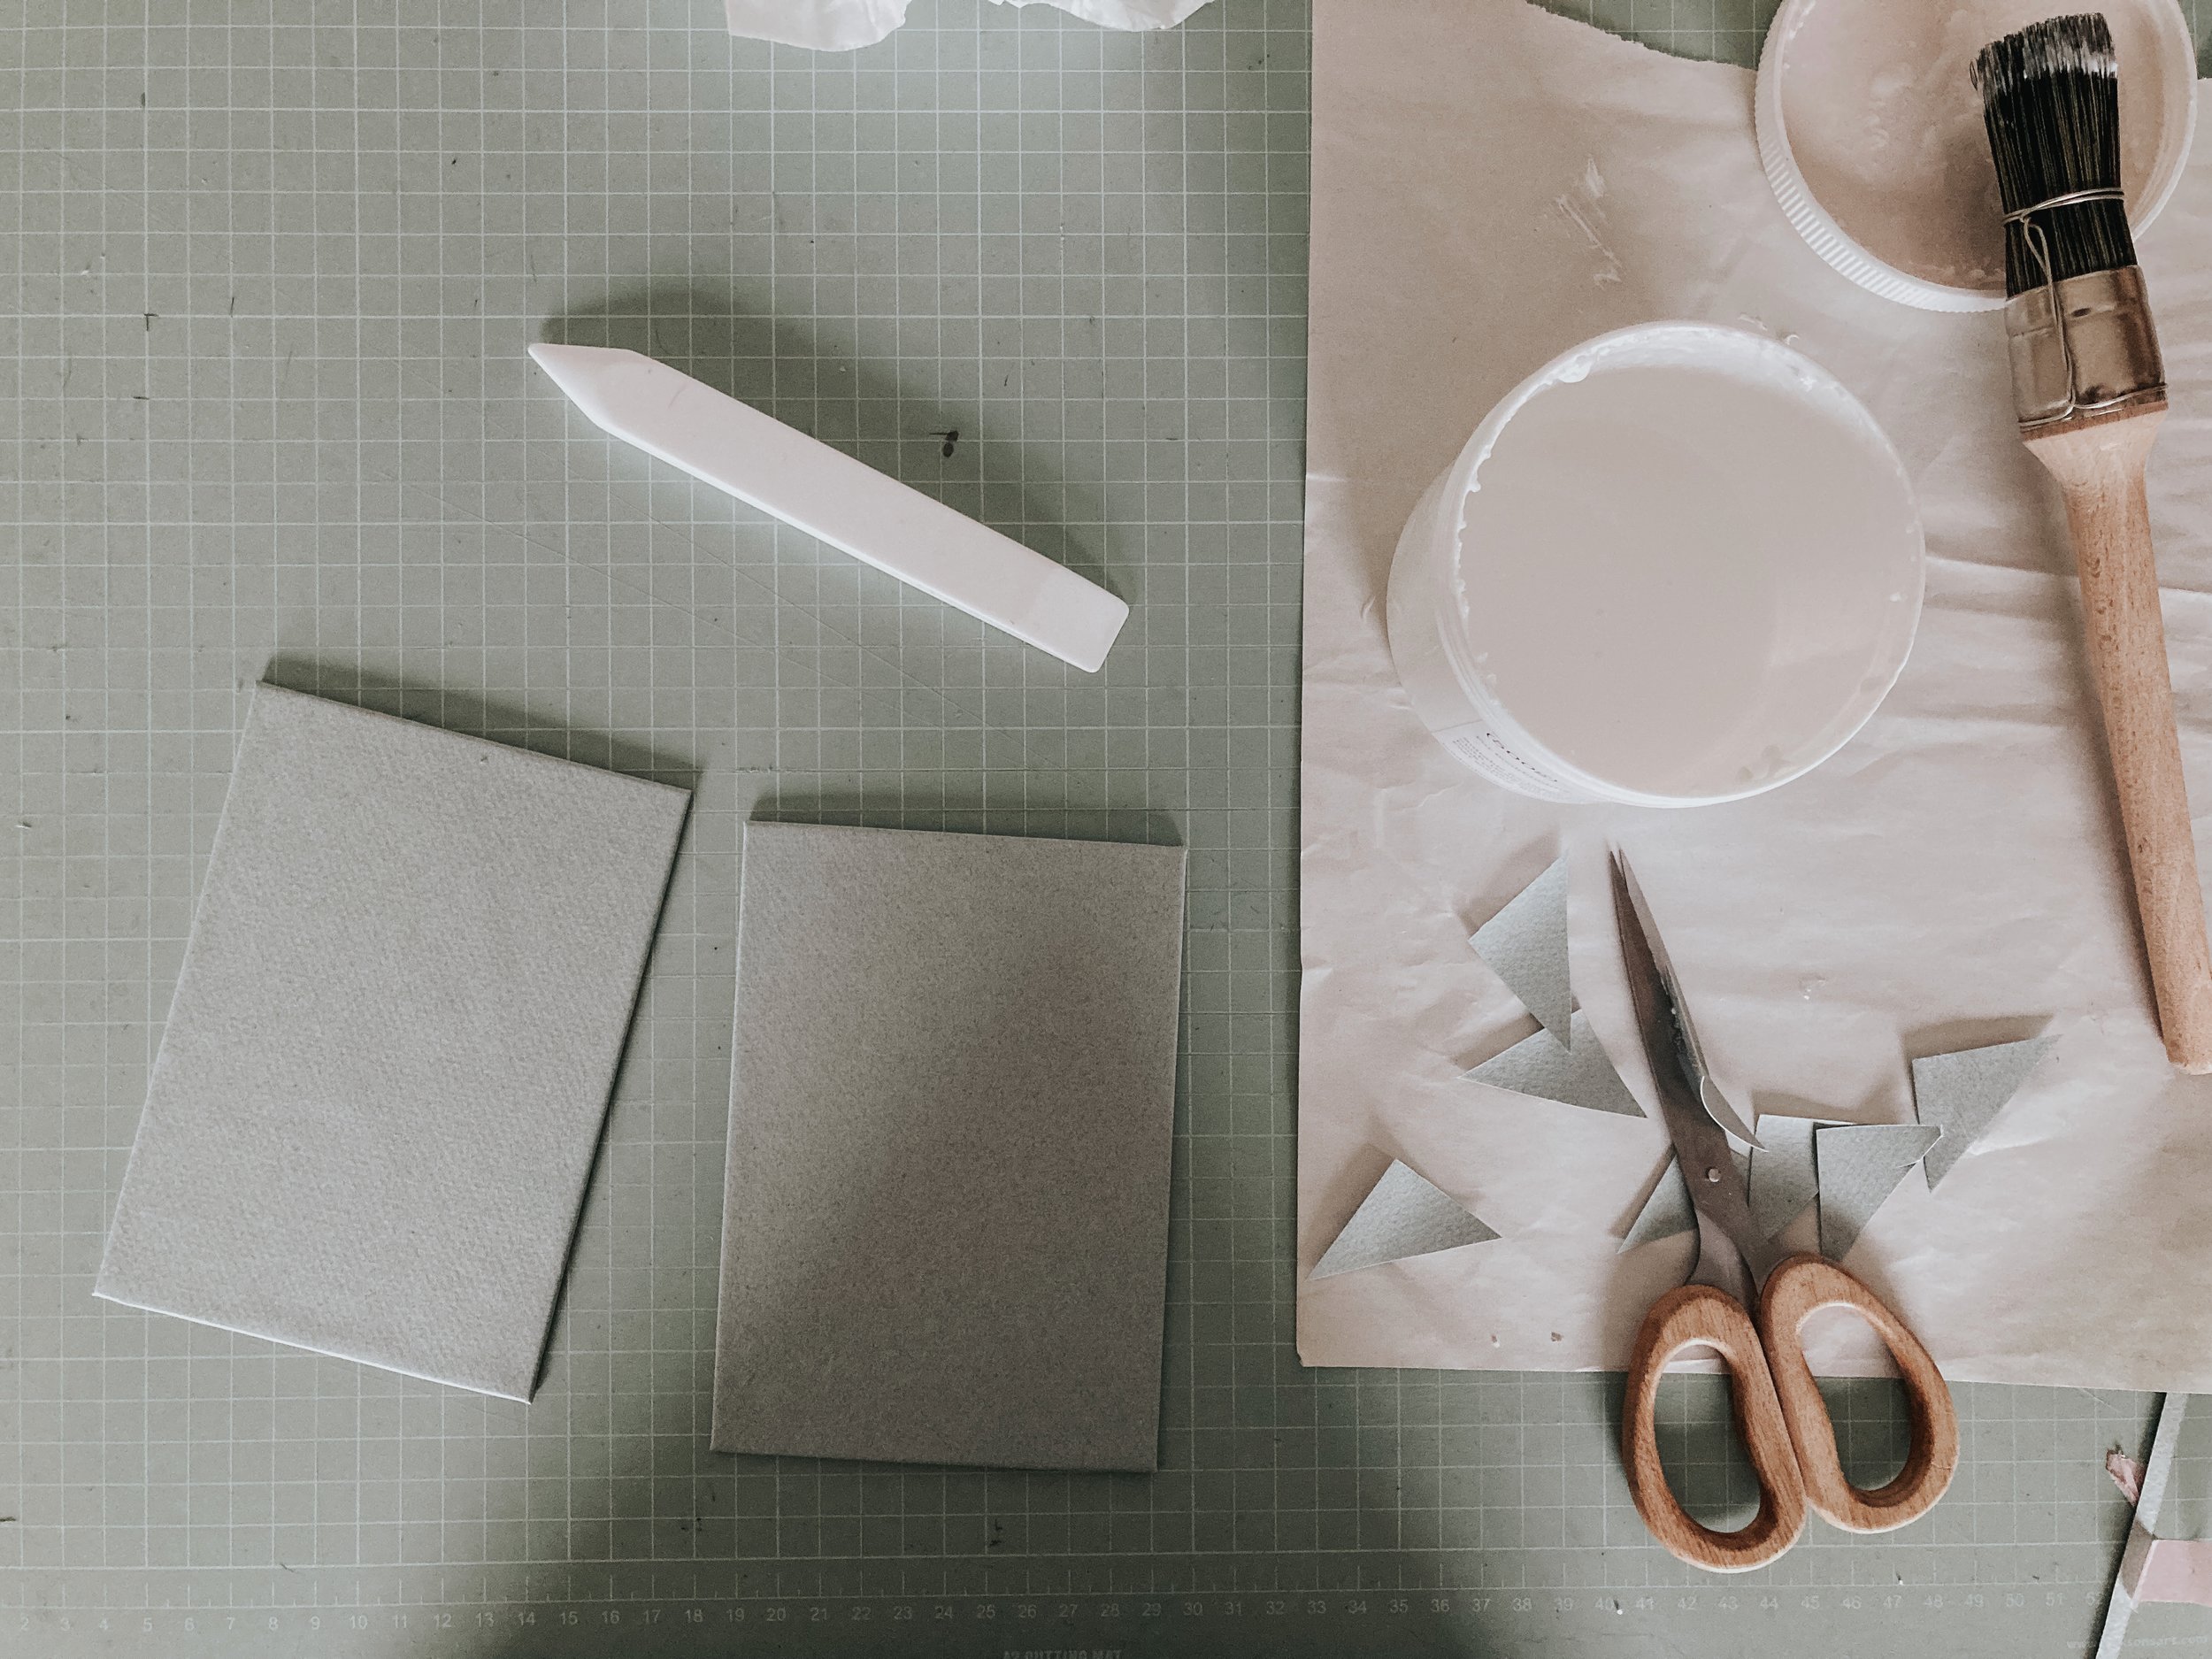
3. Make the covers
Soft covers for the type of notebook I make are cut to size first and then folded and sewn with the pages. For my anemoia notebooks the process starts even earlier, with making the paper itself, and adding the title and definition on the back using my own printing press.
Hard covers are made separately and attached to the sewn-up book block. They are made using greyboard (or a thinner board for miniature books), which first needs to be cut down to size. They are then covered with paper, which also needs to be measured out and cut from larger sheets. For time travel journals I also add the pattern and calligraphy at this stage. The paper is then used to cover the board, secured with adhesive.

4. Attach the covers
The covers then need to be attached to the book block with adhesive. For books with ribbon ties I cut and lightly glue on the ribbons to the book block first.
5. Make the label
I write labels in pointed pen calligraphy. It sometimes takes a few attempts to get it to look exactly as I want. If using handmade paper I then tear the label by hand for those rough edges, and, once dry, attach it to the book.

In addition to all these steps, there are periods when the books and covers need to be pressed and/or to dry. I make books with hard covers over several days to allow for this.
Some products involve more intricate and additional steps. Miniature books are made up of more elements and need to be carefully set for the cover to fit perfectly. Escape map covers are made up of two layers of paper with a ribbon attached in between, and a cloth spine cover, all of which involves additional measuring, careful setting and time pressing and drying.
All these steps are what I believe makes handmade books special: I design, plan and execute every detail, from paper to finished notebook, journal or album.